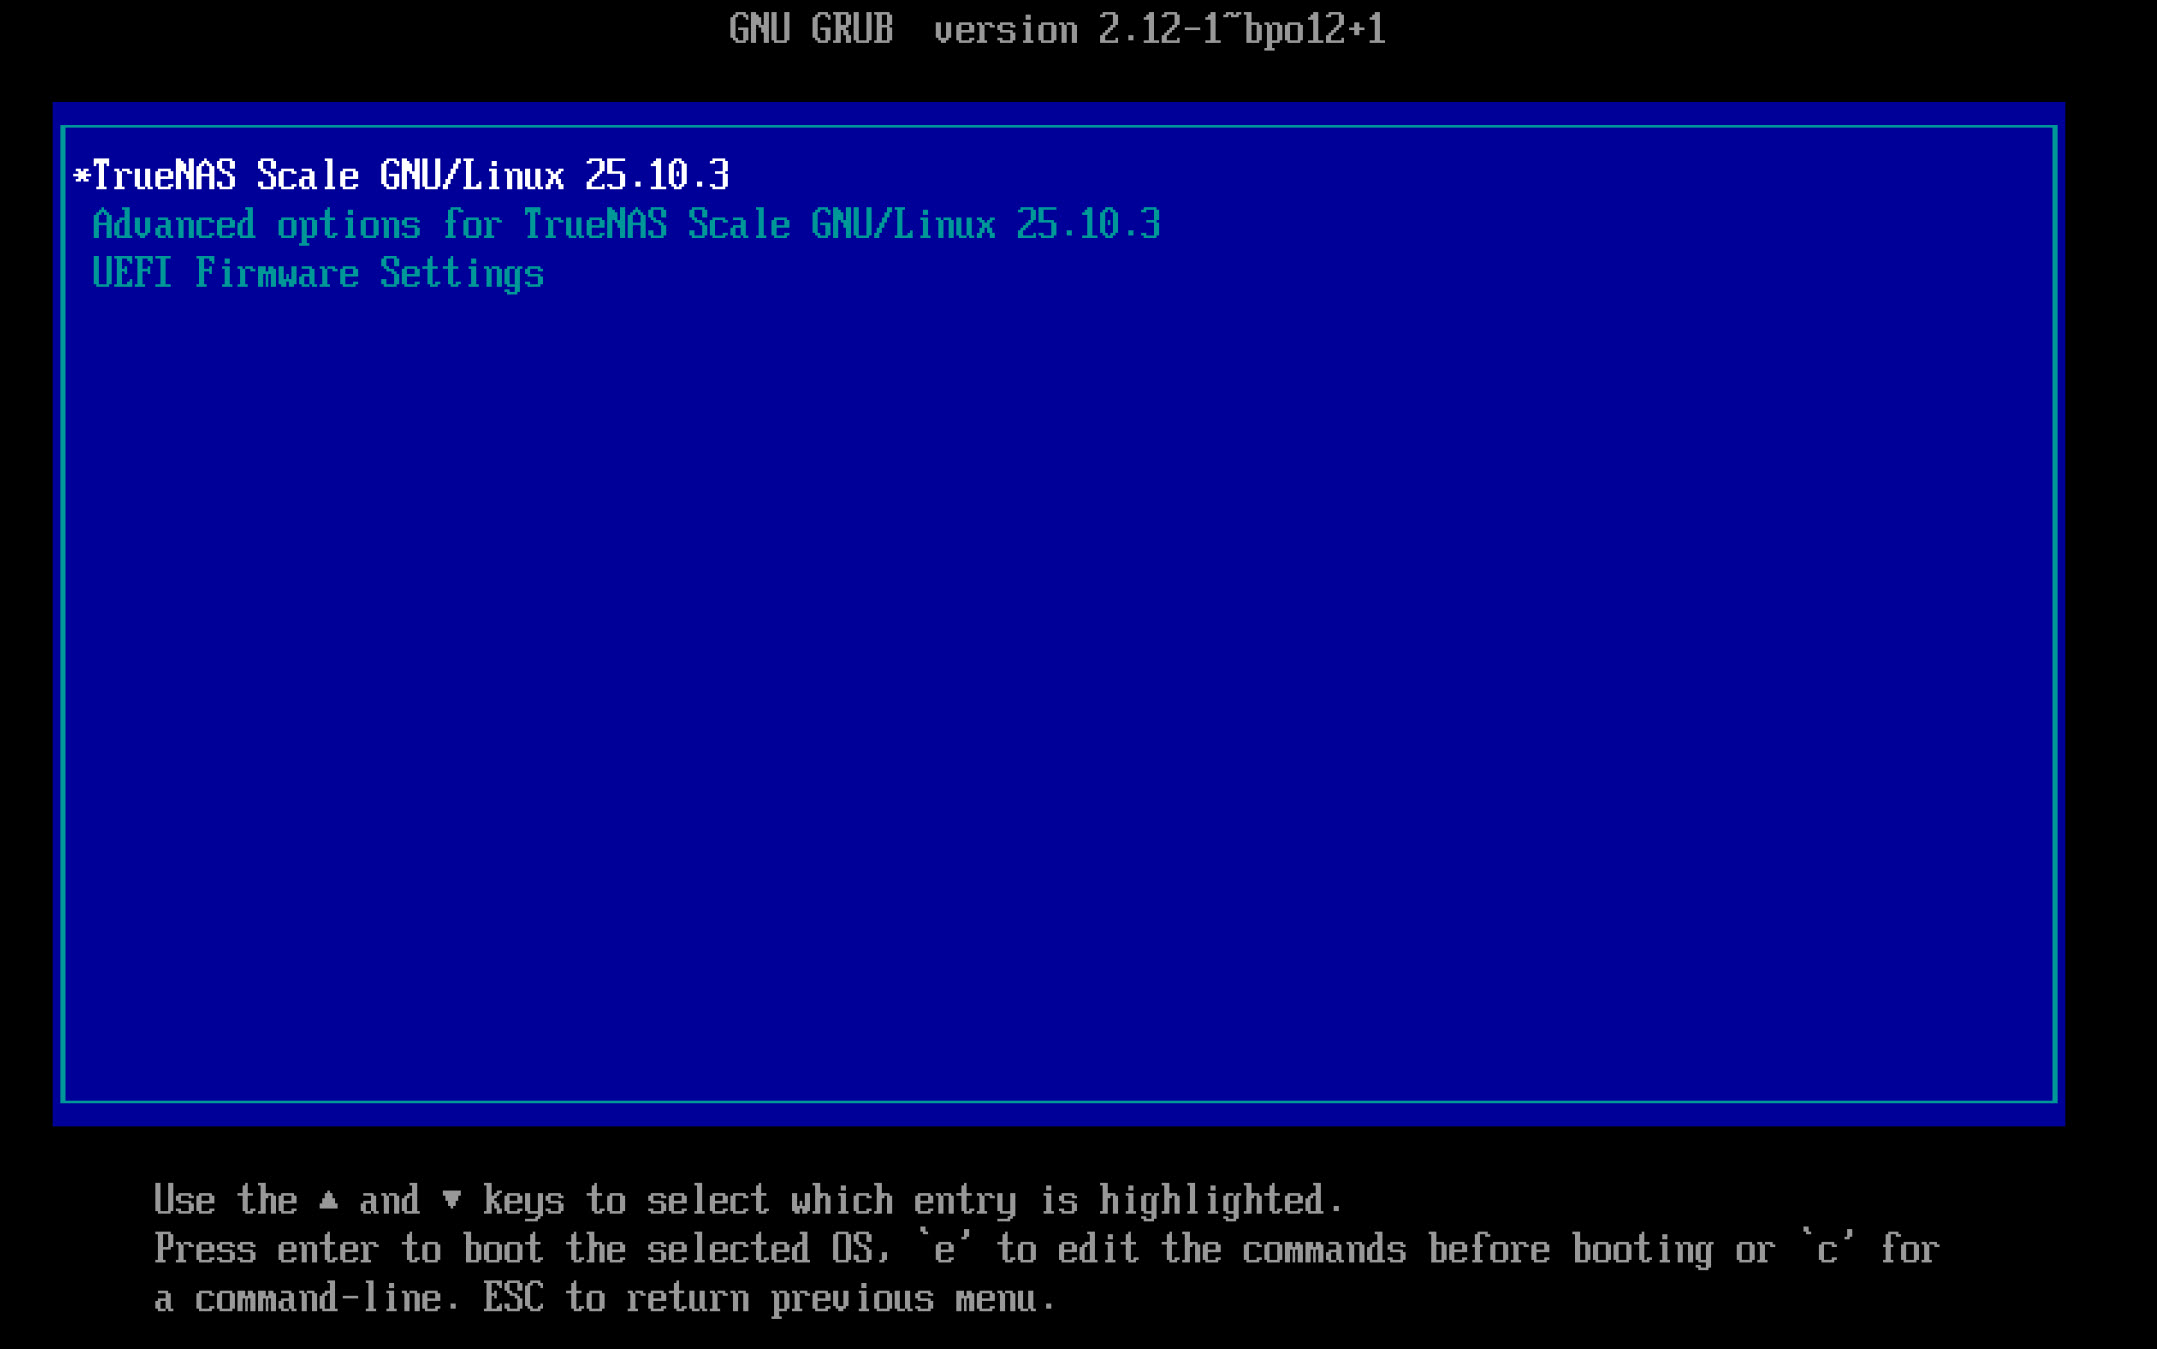
Having completed the initial install and rebooted the device you will again be presented with the GRUB boot menu.
The GRUB boot menu presented on restart after TrueNAS SCALE installation
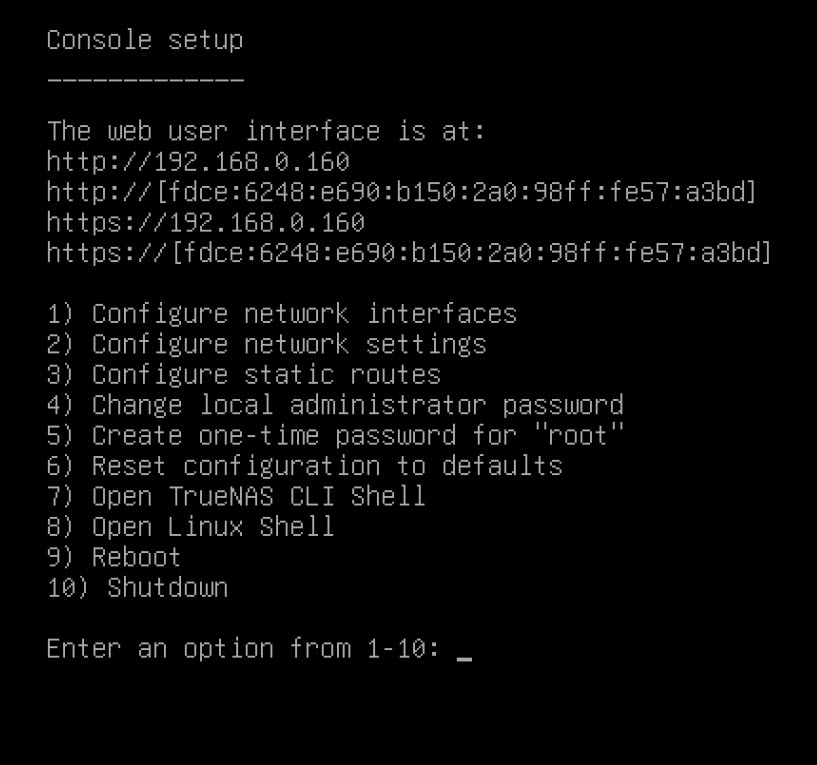
Once the device has rebooted you will be faced with this screen:
The next step is to configure the network options and give the server a fixed IP address. This can be achieved from the console, but it is much easier from the GUI. In your favourite web browser, enter the URL in the console message, in my case, 192.168.0.160. You may get a certificate warning at this point. Just ignore this and continue.
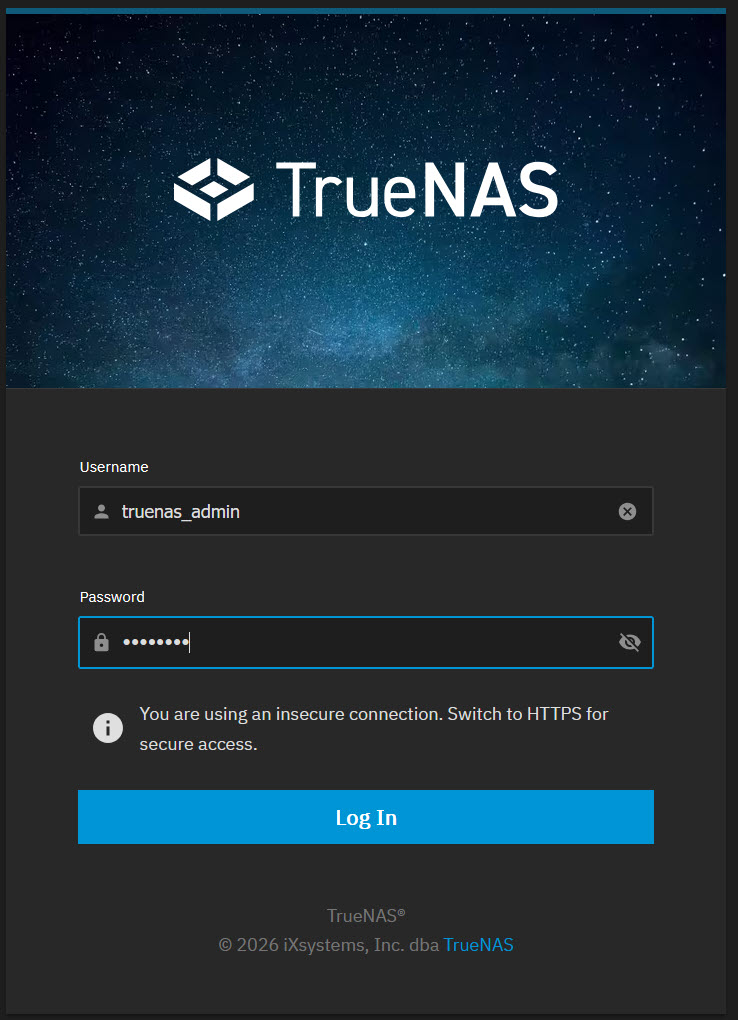
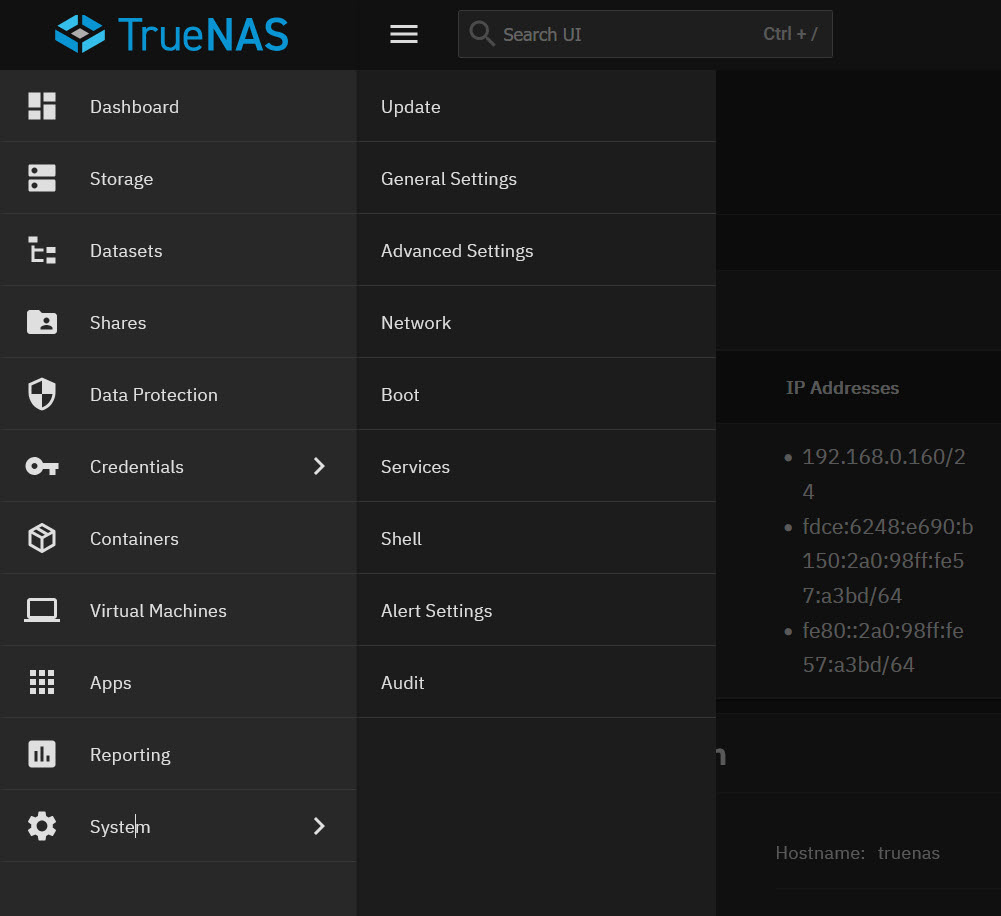
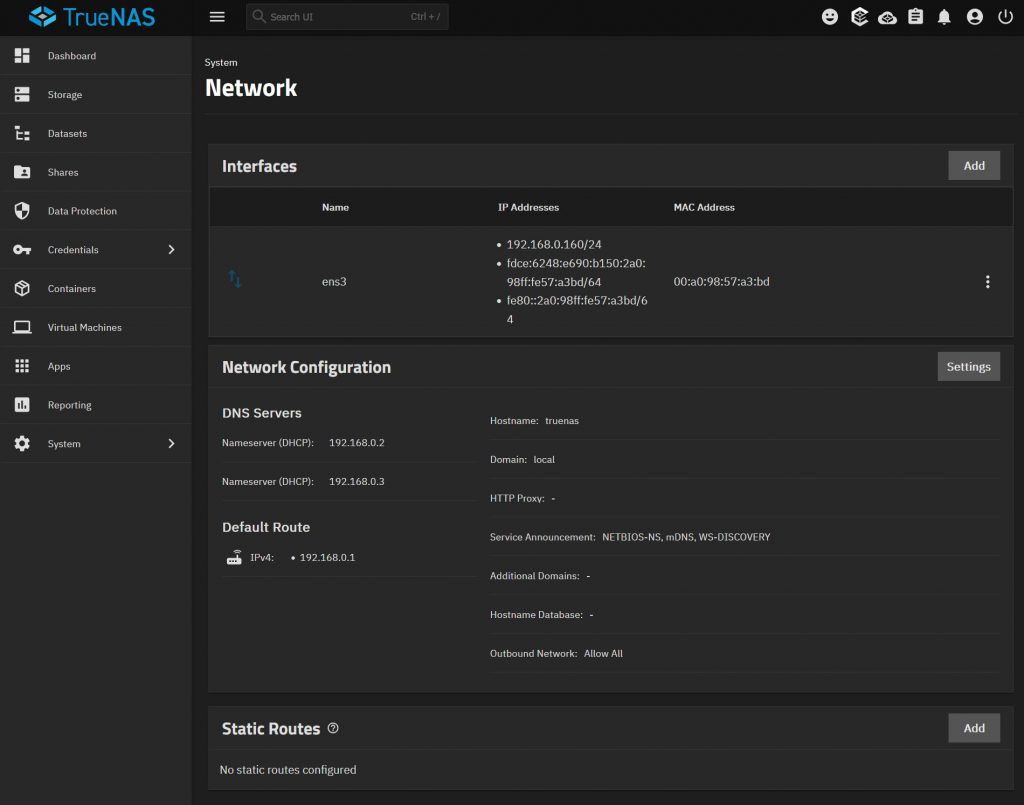
The username is truenas_admin and the password the one you entered earlier. Once logged in select Network from the main menu on the left.
Here you can see that I have 1 available network interface (ens3). It has the IPv4 address of 192.168.0.160 and two IPv6 Addresses. Also in the Network Configuration, you can see that two IPv4 Nameservers, 192.168.0.2 and 192.168.0.3. The default route is 192.168.0.1.
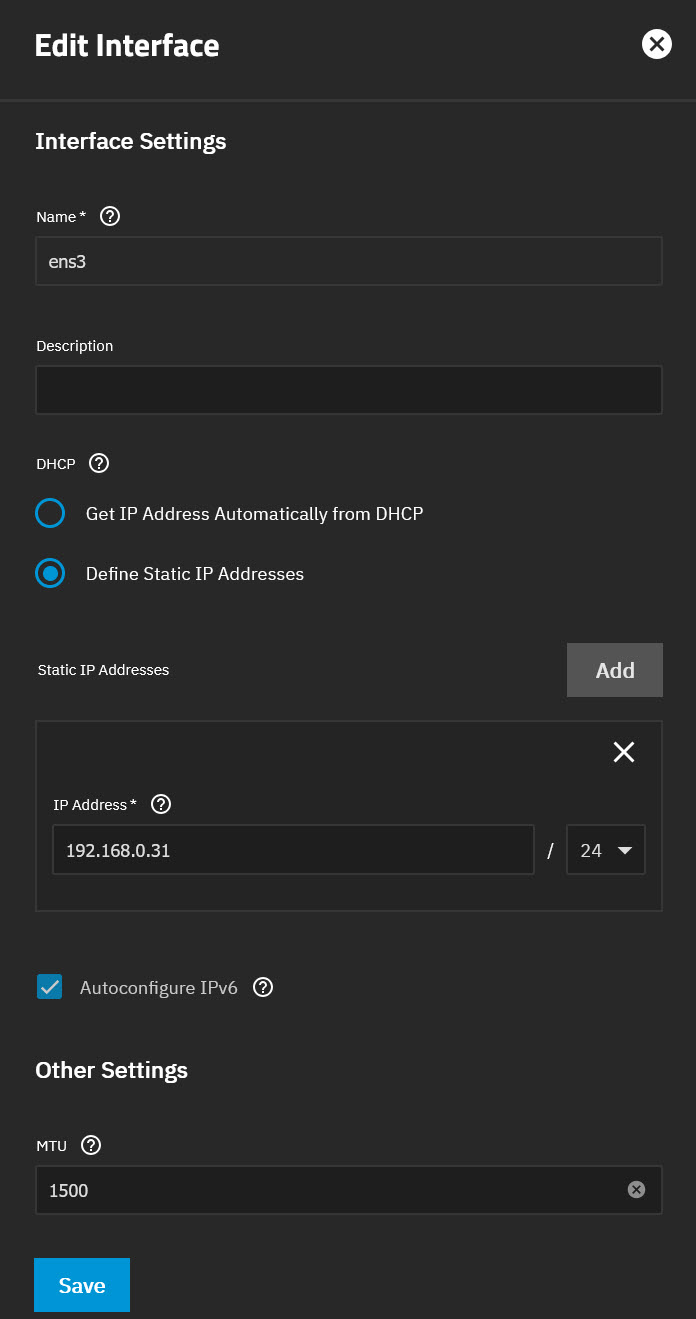
Click on the ellipsis “⋮” next to the active network interface, in this case ens3. Then select Edit. Select “Define Static IP Addresses” and then click Add. You need to identify an unused IP address on your network. In a console you could use Ping for this. It should be an address that is not included in your DHCP range. I have chosen 192.168.0.31 with the CIDR network mask of /24. This should match the CIDR in your existing network settings.
You will then be prompted to enter New IPv4 Default Gateway, Primary DNS Server and Secondary DNS Server. Hopefully, these will already have sensible addresses entered. If not, you should enter at least the Gateway and a primary DNS server.
For the first Nameserver you can see I have entered 192.168.0.2 which is the IP address of my first Pi-Hole that I use for DNS. If you have a local DNS use that. Other alternatives are:
Google 8.8.8.8 and 8.8.4.4
Cloudflare 1.1.1.1 and 1.0.0.1
Cloudflare also offers DNS facilities with filters for:
Malware 1.1.1.2 and 1.0.0.2
Also malware and adult content 1.1.1.3 and 1.0.0.3
Note that having more than 1 DNS is not primarily for redundancy but load balancing. So using 1.1.1.1 and 1.1.1.3 would sometimes query 1.1.1.1 and sometimes 1.1.1.3 there is no control over which DNS is used.
Click Register.
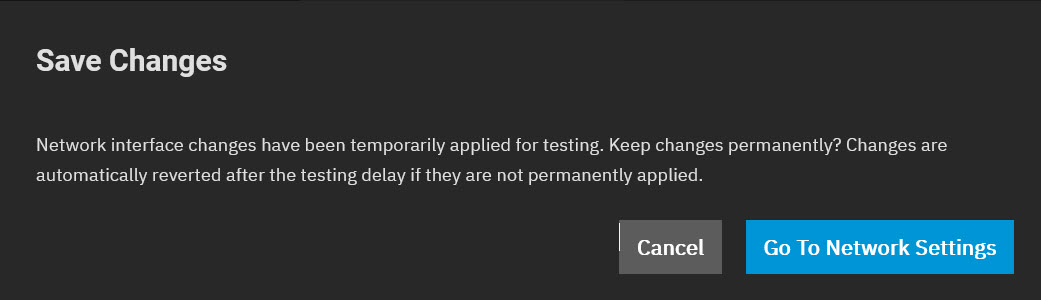
You will then be prompted to Test Changes. Once you click Test Changes, the IP address of the GUI will change to the new interface. So, before you do this, open a new tab in your browser and point it to the new IP address. Obviously, there is nothing at this address yet, so you will get the Connection timed out error. Now, revert to the previous tab and click Test Changes. In the pop-up box, click the confirm box and then Test Changes. Now switch to the new tab and refresh if necessary.
If all has gone well, you will be prompted to log in. Once you have logged in, you can save the new network settings.
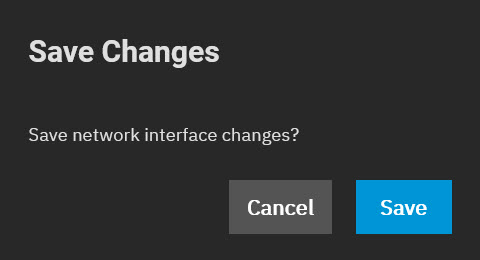
Once you are in the Network settings click Save Changes
And then click Save Changes again!
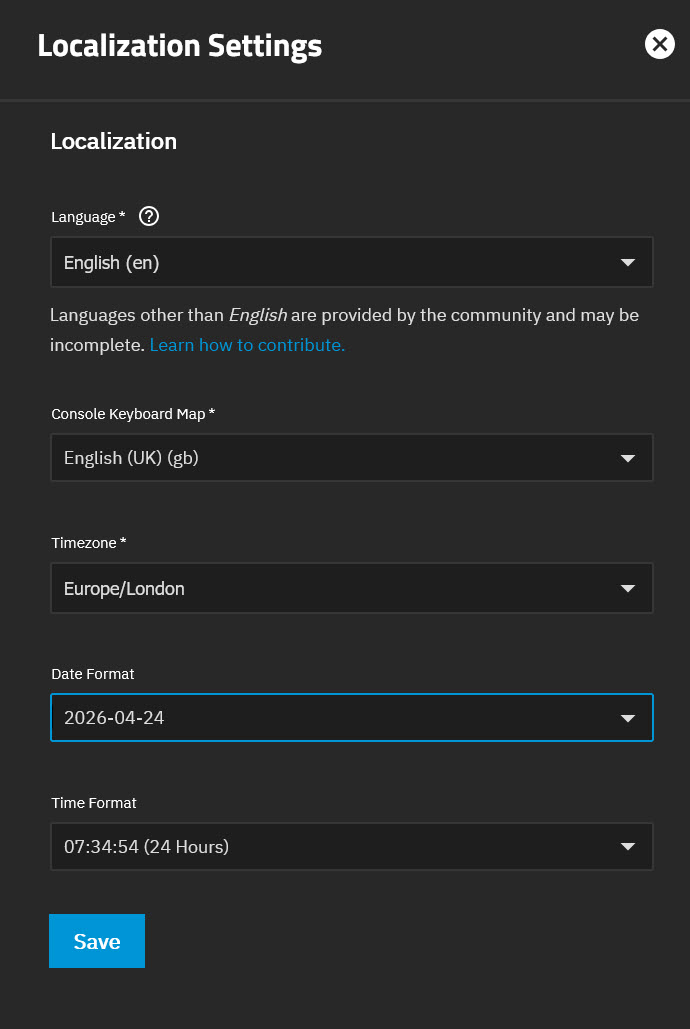
Other General Settings. Localization, Email and SMTP
Go to System > General Settings and check that the localisation settings are correct. If not click Settings and make the corrections.
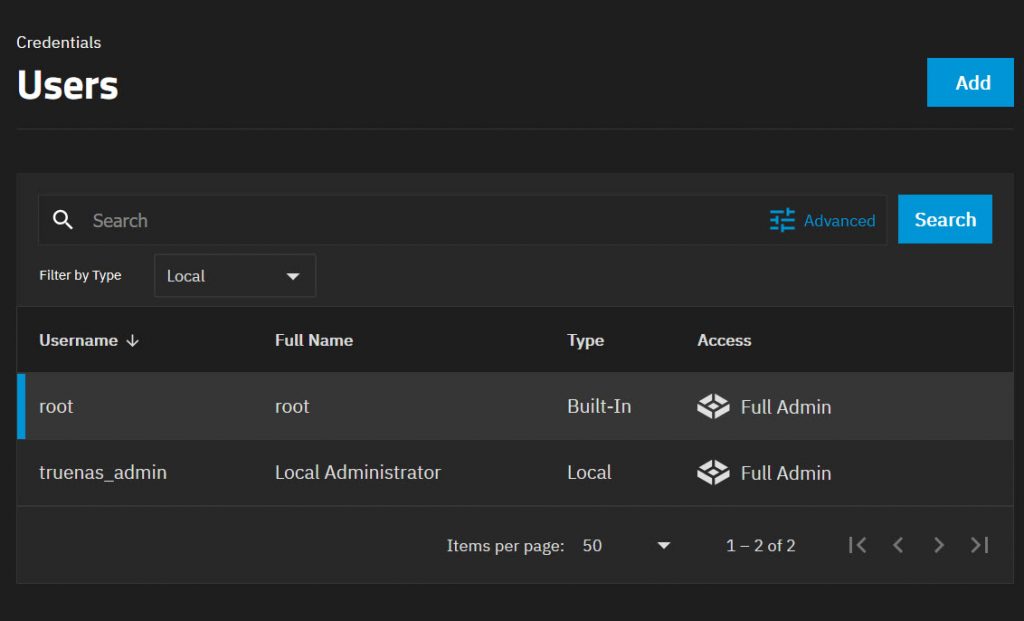
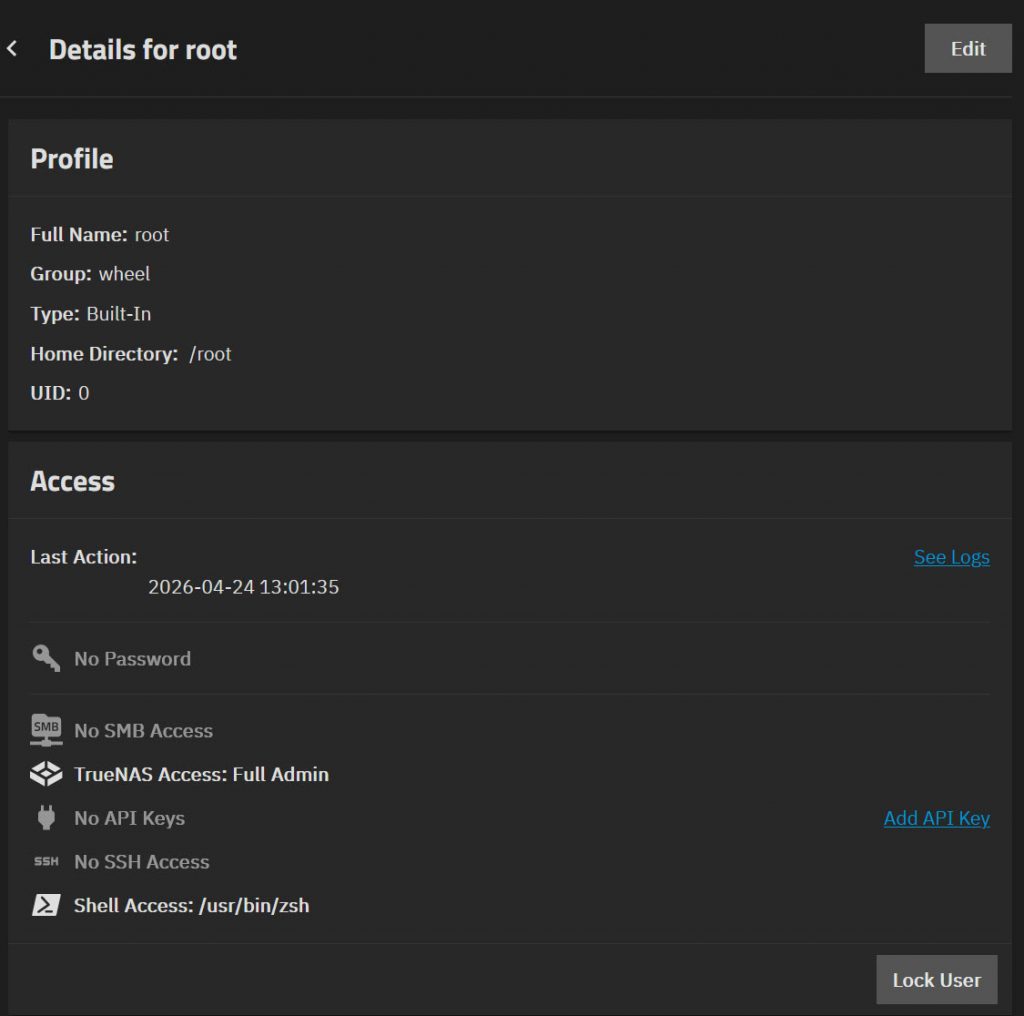
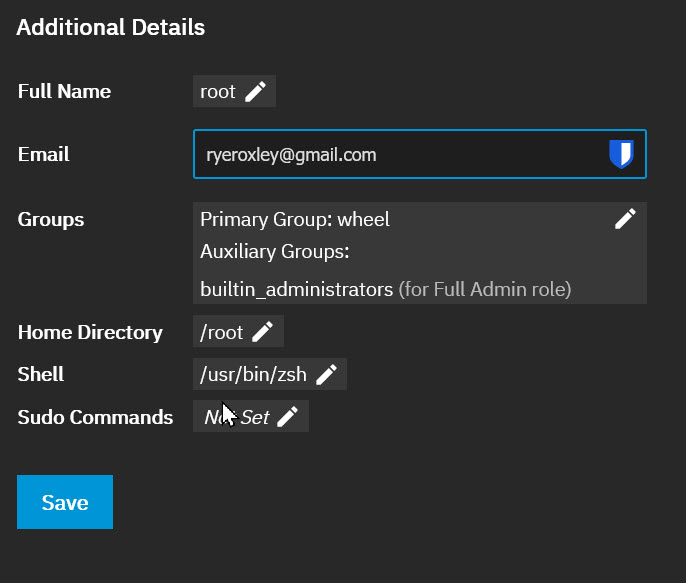
Before configuring email it is necessary to enable a user to send email. So go to Credentials > Users and select the root user. This is the most important user to enable, as it is this user that will send system alerts.
Then Edit
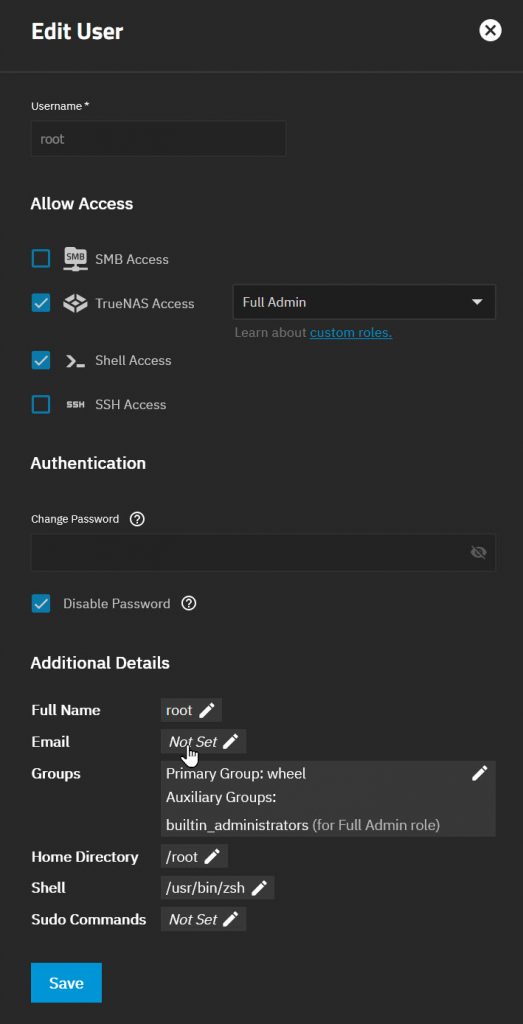
Then click Email where it says Not Set
This is the email address that root will send system alerts to. Enter an email address and click Save.
It is probably worth setting up a Gmail account just for TrueNAS Scale and other systems that need to send email, I use a gmail address for this. TrueNAS offers three alternatives for sending email, SMTP, GMail OAuth and Outlook OAuth.
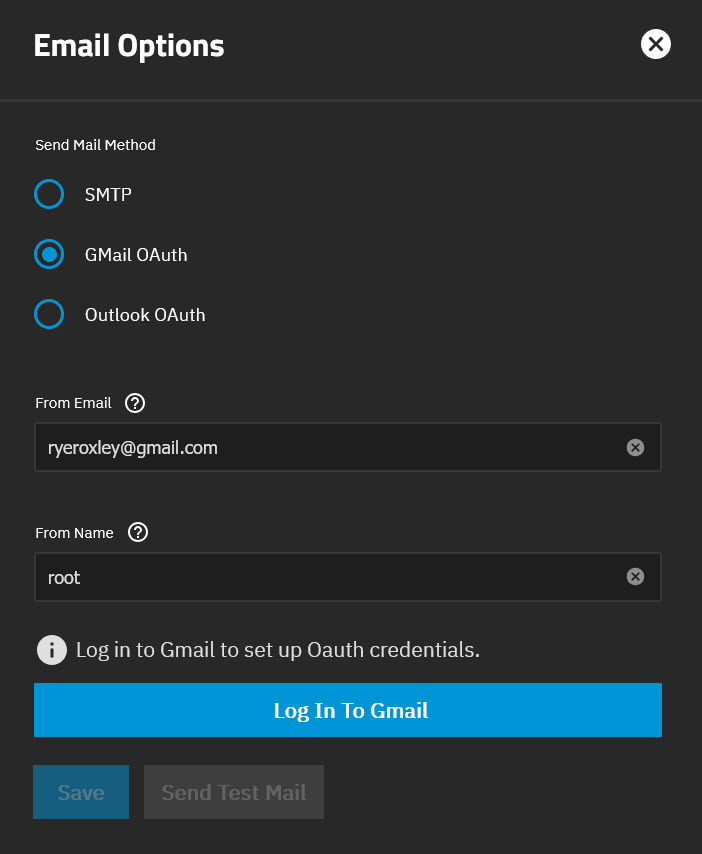
GMail OAuth Settings
To set up TrueNAS Scale to send emails using Gmail. Go to System > General Settings and click the Email > Settings button. Enter the From Email and the From Name and click Log In To Gmail.
You will then get an Authorisation pop-up box. Note that this redirects through www.truenas.com/oauth/gmail; this is expected behaviour and not a security risk.
Click Proceed, and you will be taken to the standard Sign in with Google page. Proceed to login and give TrueNAS permission to access your Google Account. Click the Send Test Mailbutton to confirm the setup. Once you are satisfied, click Save.
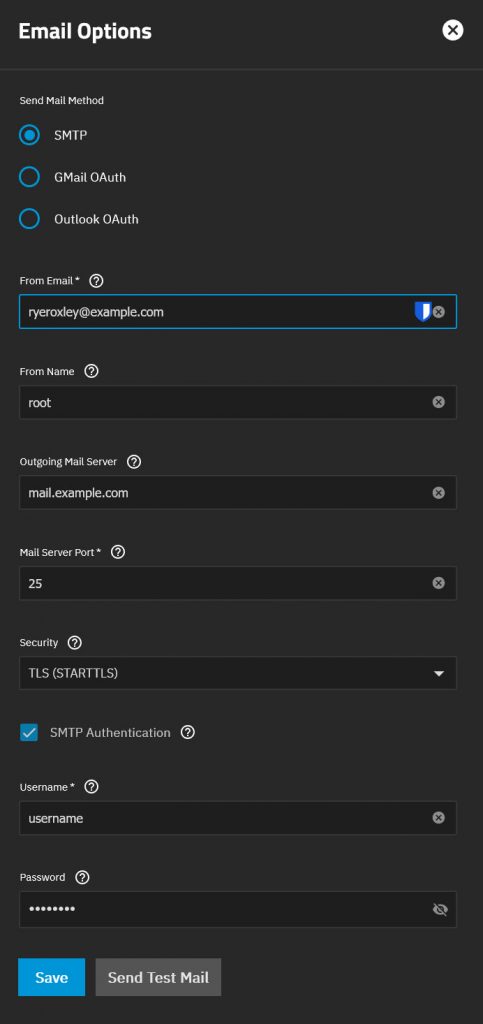
SMTP settings
If you prefer to use SMTP, go to System > General Settings and click the Email > Settings button. Enter the details of your SMTP server. It is worth noting that the From email address must be authorised to send emails from your server. The other settings are server-dependent. Enter the details and click Send Test Mail. If all goes well, click Save; otherwise, confirm your settings.