To configure the Truecharts app cloudflareddns the following information is required to be entered in the configuration. Cloudflare API Token Domain name Cloudflare Zone ID DNS Record Type Storage Type
Note the A record points to 83.233.160.22. This will point to your previous site. In this case names.co.uk. This must point to the IP address of your self-hosted server or gateway/router. If you have a dynamic IP address then this IP address can change without notice. Using the TrueNAS Scale App cloudflareddns will monitor your IP address and update it in Cloudflare if required.
To configure the app we need to know:
Cloudflare API Token. Cloudflare Zone ID. Host Path for Storage.
App Configuration For the next section, we need to get an API Token and a Zone from Cloudflare.
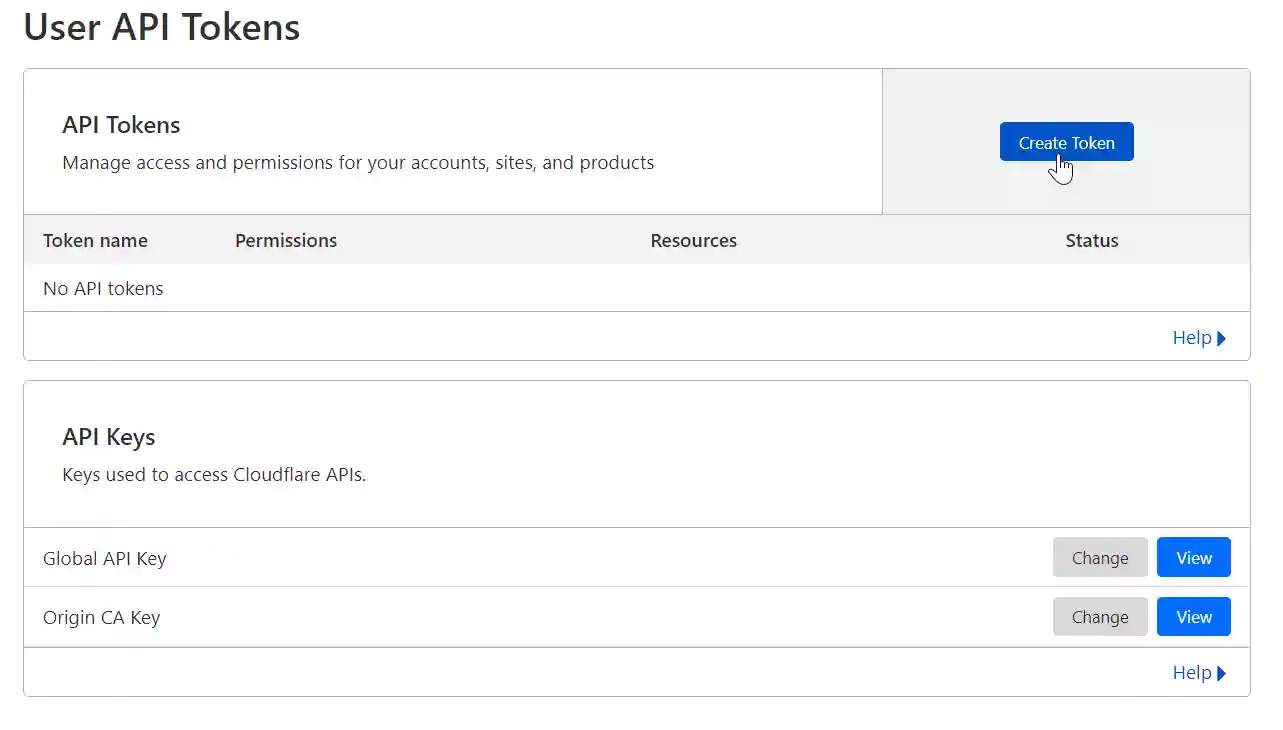
Log in to Cloudflare. Click on the appropriate domain. On the right-hand side there is a link to Get your API token click on the link. Next click Create Token.
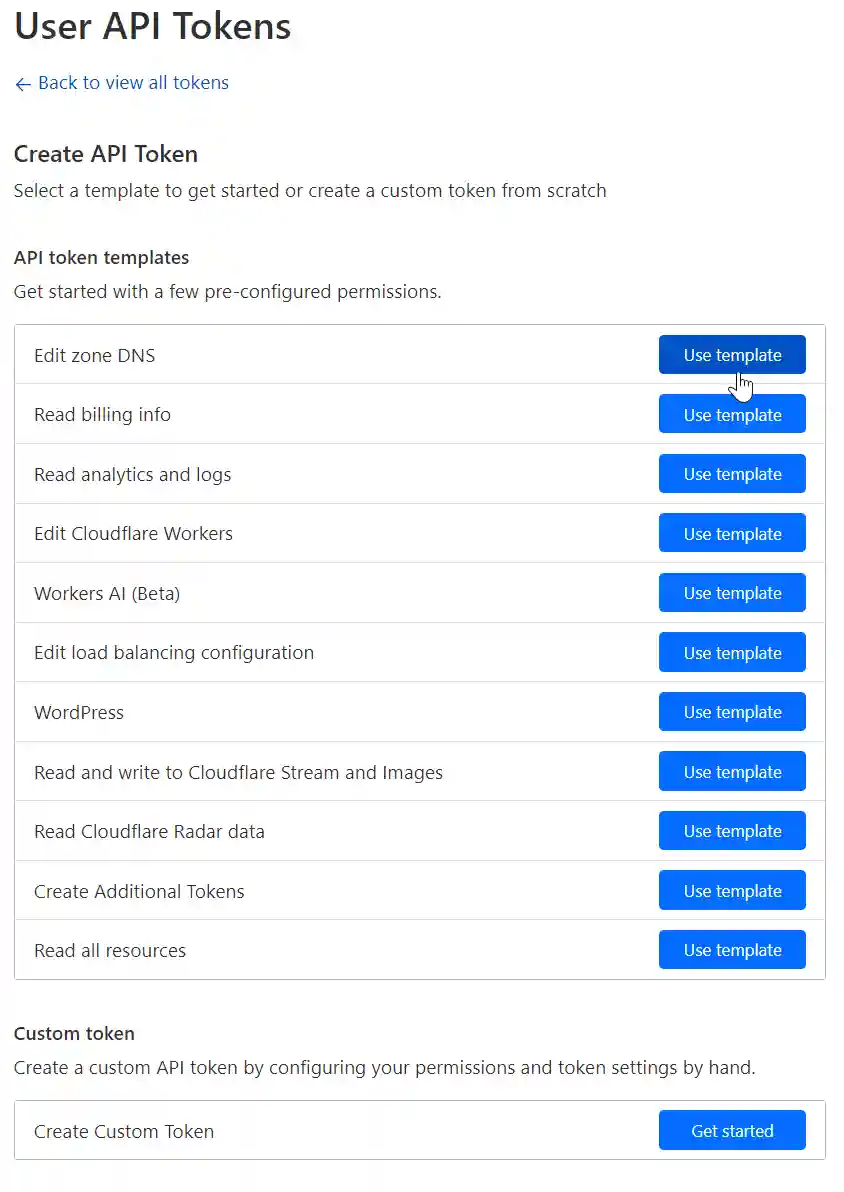
As we want to edit the A record in the DNS click on the Edit zone DNS, Use Template.
The Zone to edit is DNS and it needs Edit permissions. The Resource to include is the specific domain to edit. (if you are hosting more than one domain you may wish to leave this set to All). Optionally you can also restrict to specific IP addresses or time scales. click Continue to summary.
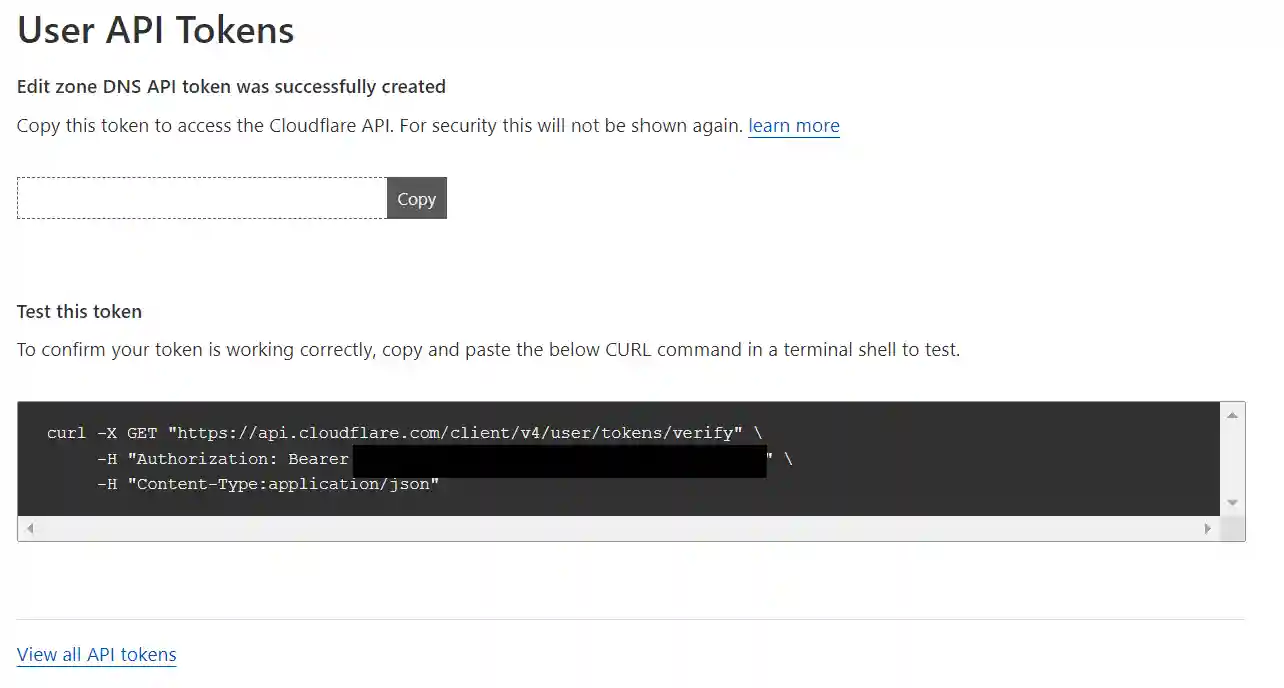
Check the summary and Create Token. The next screen displays the API Token. Copy and paste the token somewhere safe!
If you have access to a Linux shell you can test the token by pasting the code into the shell. You should get a response that includes the text “This API Token is valid and active“
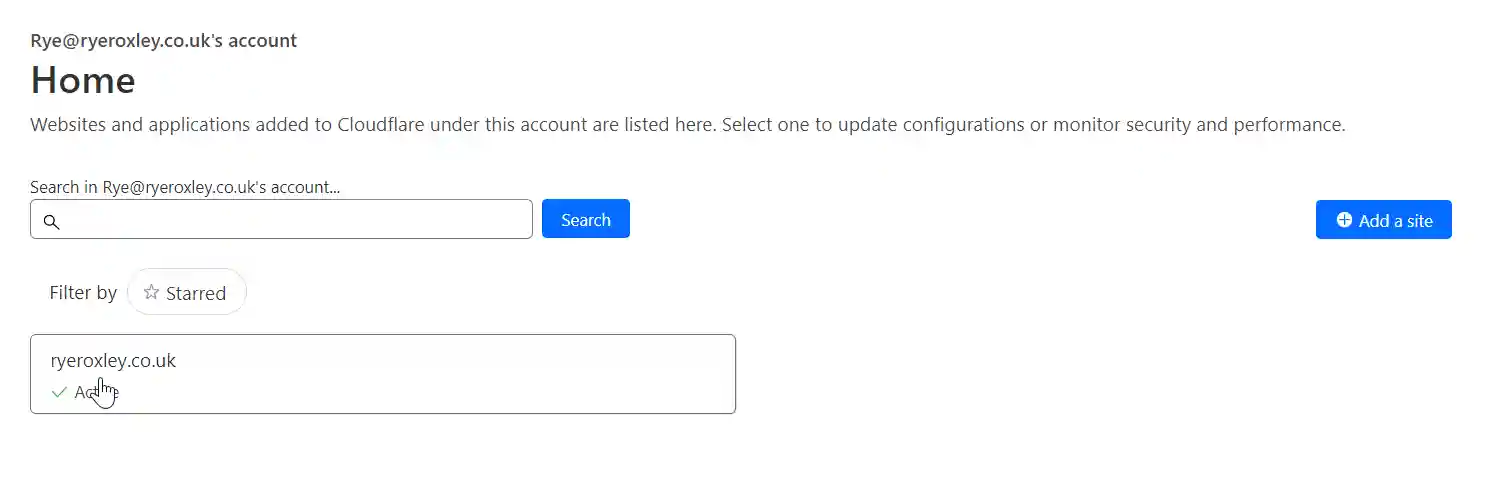
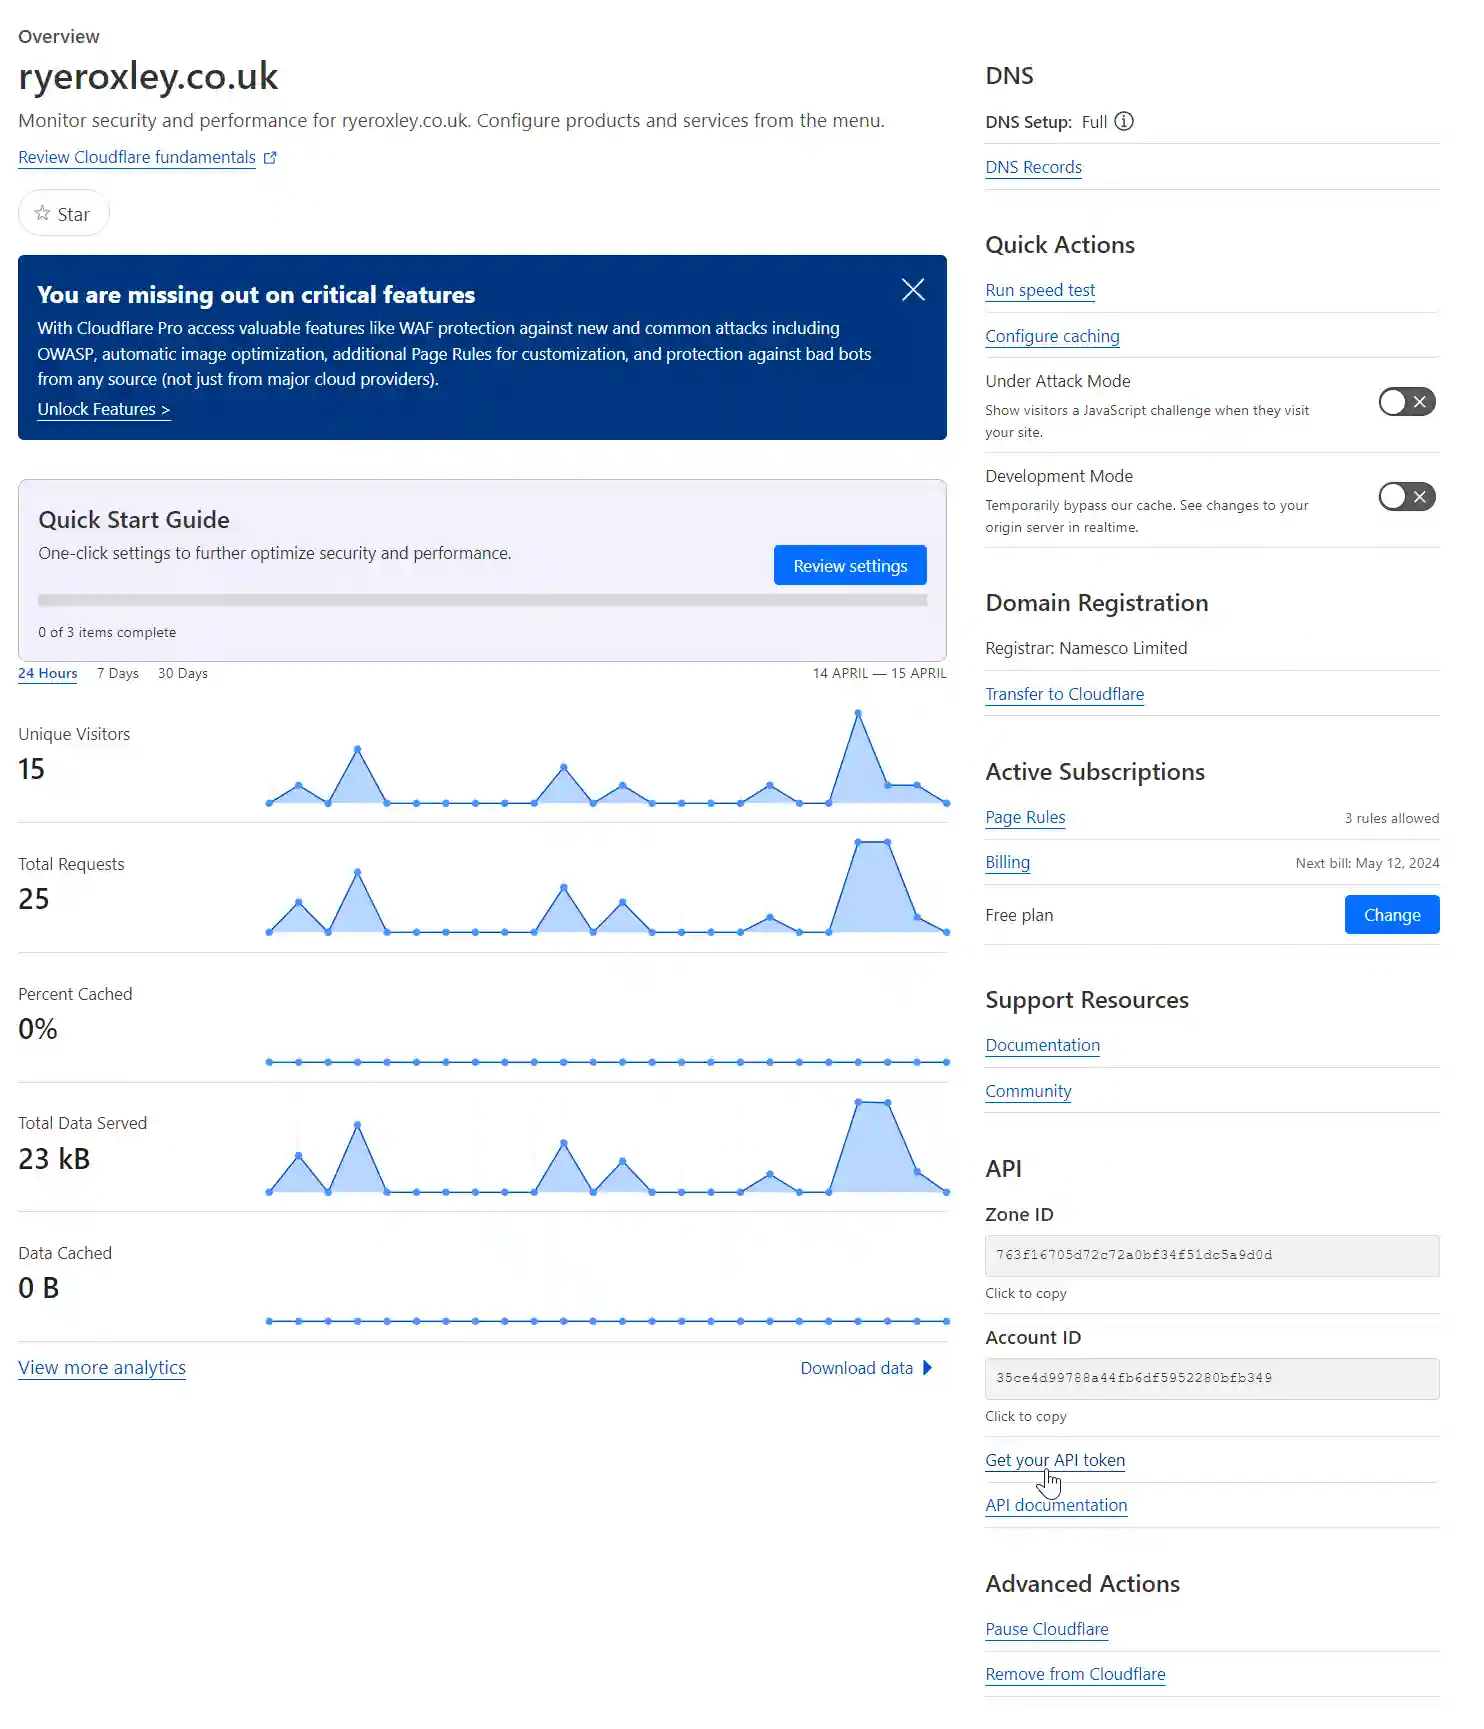
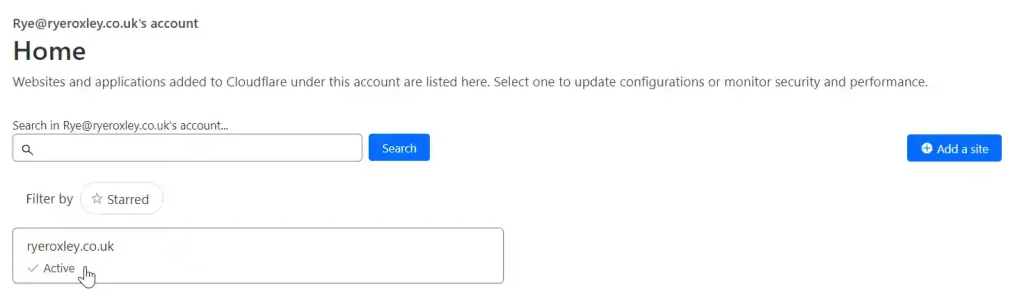
We have the API token the other piece of information needed is the API Zone ID . Click back to return to the account home and then click on the domain again.
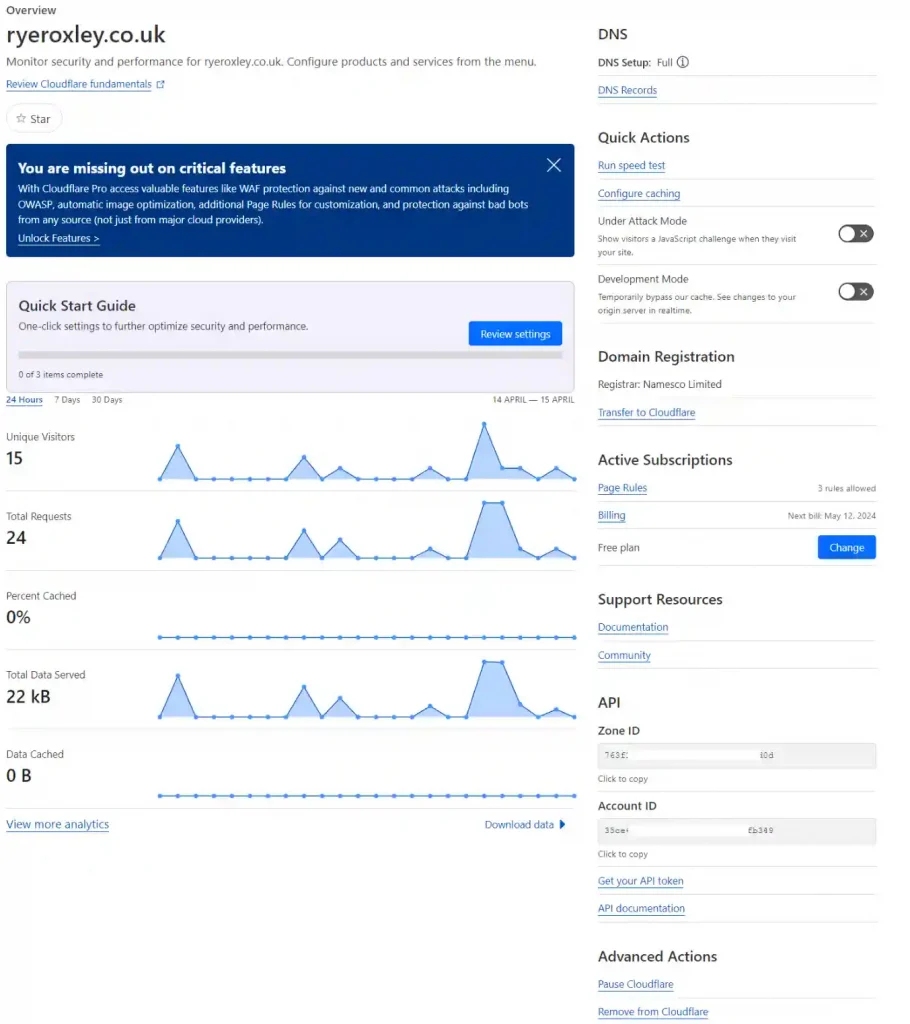
In the resulting window the API Zone ID is at the bottom on the right hand side.
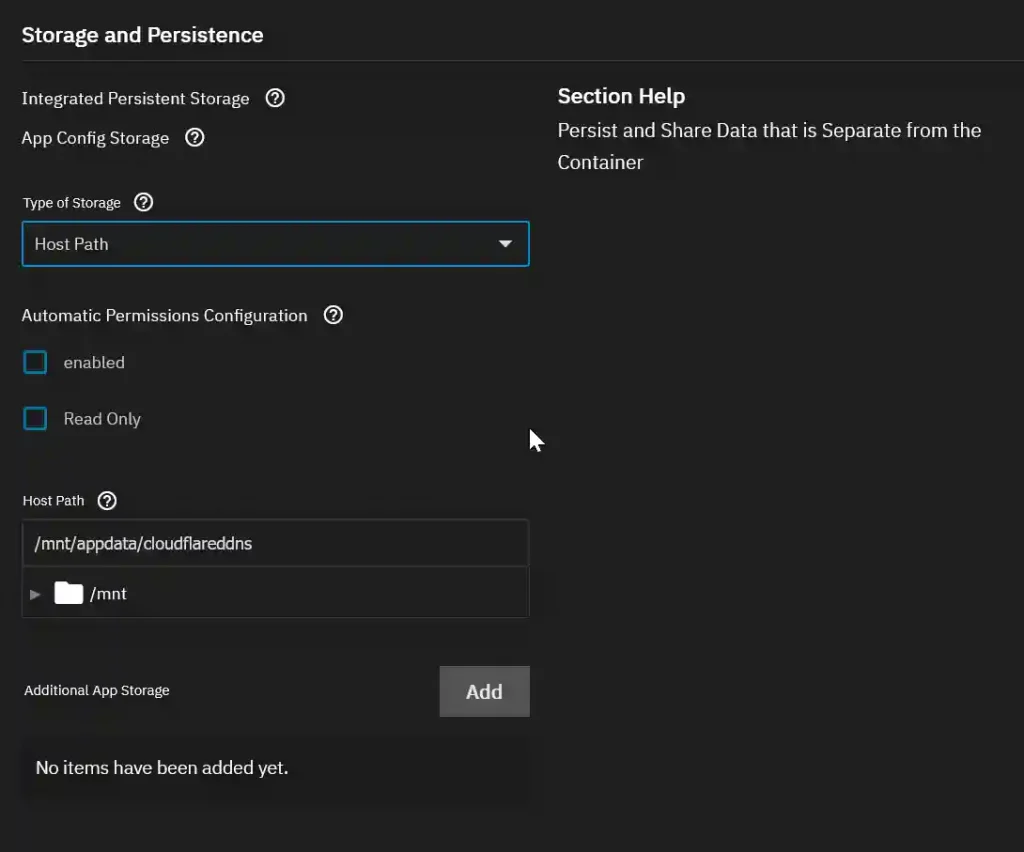
Storage and Persistence
As discussed here I prefer to use Host Path for storing data separately from the container. To replicate the same structure, follow the guidelines provided and assign the dataset to cloudflaredns.
3. Install Truecharts Cloudflareddns
In many cases TrueNAS Scale offers Apps from TrueNAS and Truecharts however for Cloudflareddns the App is only offered by Truecharts. In TrueNAS Scale go to Apps > Check Available Apps and search for cloudflareddns. Click on the Cloudflareddns icon then click install. If this is the first app you have installed you will be presented with an Information warning, click Confirm and then Agree.
Once the app settings have loaded, you will encounter a vast array of options. Please proceed through these steps one by one:
Application Name As this is likely to be the only instance of this App we will load then these settings can be left as they are. General Settings Again these can be left as they are. Workload Settings Again these can be left as they are.
At the bottom on the right in the API block is the Zone ID.
Returning to the TrueNAS Scale App we now have the information we need for the App configuration section.
CF API Key – leave blank. CF User – leave blank. CF API Token – insert the token we generated earlier. CF API Token Zone – leave blank. Interval – do not change. Detection Mode – do not change. Detection Mode Override – do not change. Log Level – do not change.
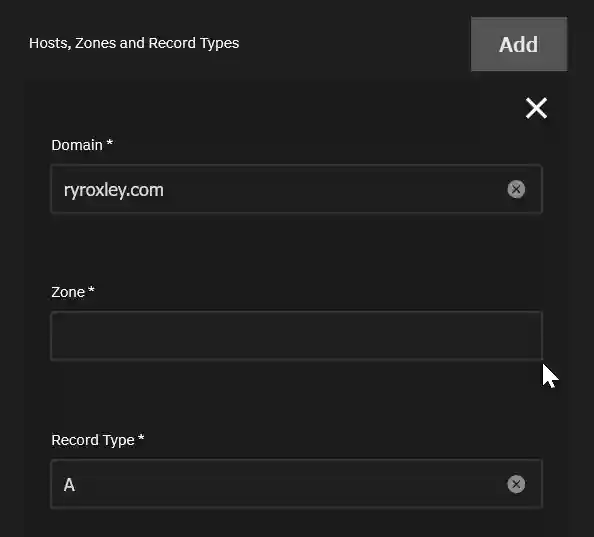
Next click Add to add a Host, Zones and Record Types
For the Domain enter your domain.
The Zone is the API Zone ID we obtained from Cloudflare earlier.
Leave the Record Type as A.
The Network and Services Section can be left as the defaults.
In the Storage and Persistance section change the Type of Storage to Host Path and then select the path from the Host Path dropdown.
All further options can be left as their defaults. Click Install. This may take some time so be patient. Once installed you will be taken back to the Applications dashboard where the app will be deploying. Eventually this will change to Running.
If you now go back to your Cloudflare account and examine the DNS A record it should now point to your IP address.