Replacing an HDD or SSD in TrueNAS Scale is relatively straightforward, provided the disk is part of a fault-tolerant array. If the disk is part of a RAID 0 (Stripe) configuration, you must first back up the data, then replace the disk and restore the data from the backup. This is a routine procedure necessary whenever a disk fails. For instance, in this example, there is a failed disk in a simple two-disk mirror array. The disks in the array are 1TB NVMe SSDs, and I am upgrading them to 2TB NVMe SSDs.
Note, if you are replacing more than one disk in an array, wait for each device to resilver before starting the next one.
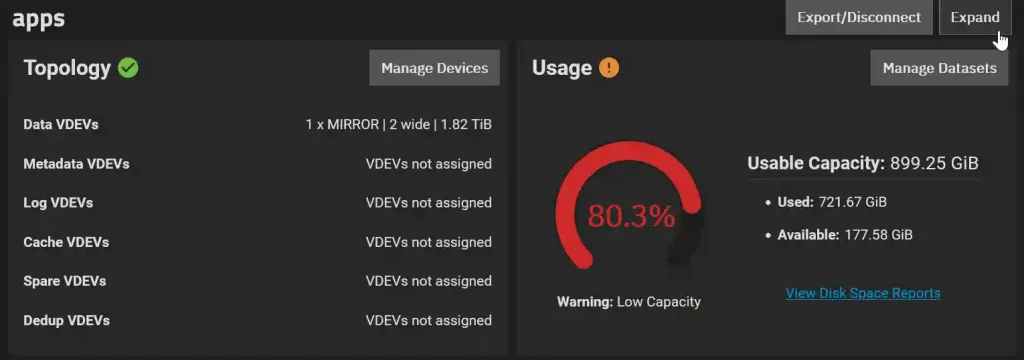
In the TrueNAS Scale GUI go to Storage. As you can see from the screenshot below there are two issues with the apps pool.
Topology (as we will see there is a disk missing)
Capacity (TrueNAS Scale works most efectively if the capacity is kept below 80%)
On the Topology pane click Manage Devices:
In the resulting Devices pane, the mirror is labeled as degraded. Click to the left of the VDEV (Mirror) to expose the disks:
This will display the disks in the VDEV. As shown in the screenshot, one disk is healthy, while the other has been removed. Click on the arrow to the right of the failed or removed disk:
The resulting panel will display the details for the failed or removed disk. Click the button to take the disk offline, and then confirm this action in the subsequent popup dialogue.
Next click the Replace button:
In the resulting popup select the disk that will replace the failed disk and then click Replace Disk.
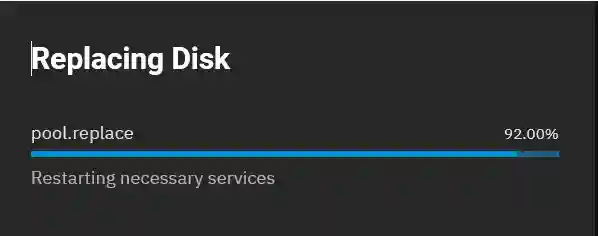
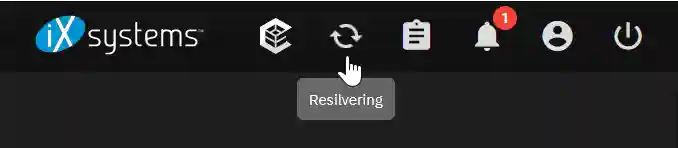
A pop-up will appear indicating that the disk is being replaced. This pop-up will disappear quickly; however, the array will still be resilvering. This can be observed in the icon bar at the top of the TrueNAS Scale GUI. The process may take several hours for a large HDD. It is important not to take any further actions on the pool until the resilvering is completed.
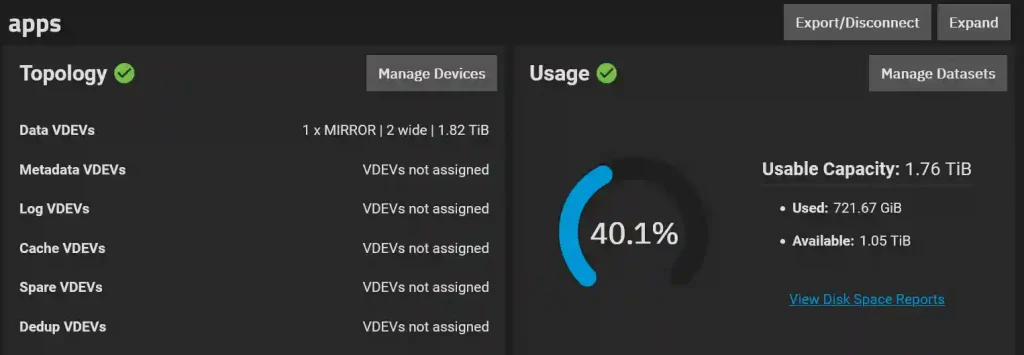
If you increase the size of all the disks in a pool, you can expand the pool to utilize all the available disk space. To do this, click the “Expand” button for the desired pool and then confirm the action.
The process will take the same amount of time as before. Once it is complete, you may need to refresh your browser page to see the panel display the expanded capacity.